Calibration
Click the “Calibration” button at the bottom of the settings panel to open the calibration dialog.
Electrical Signal Calibration
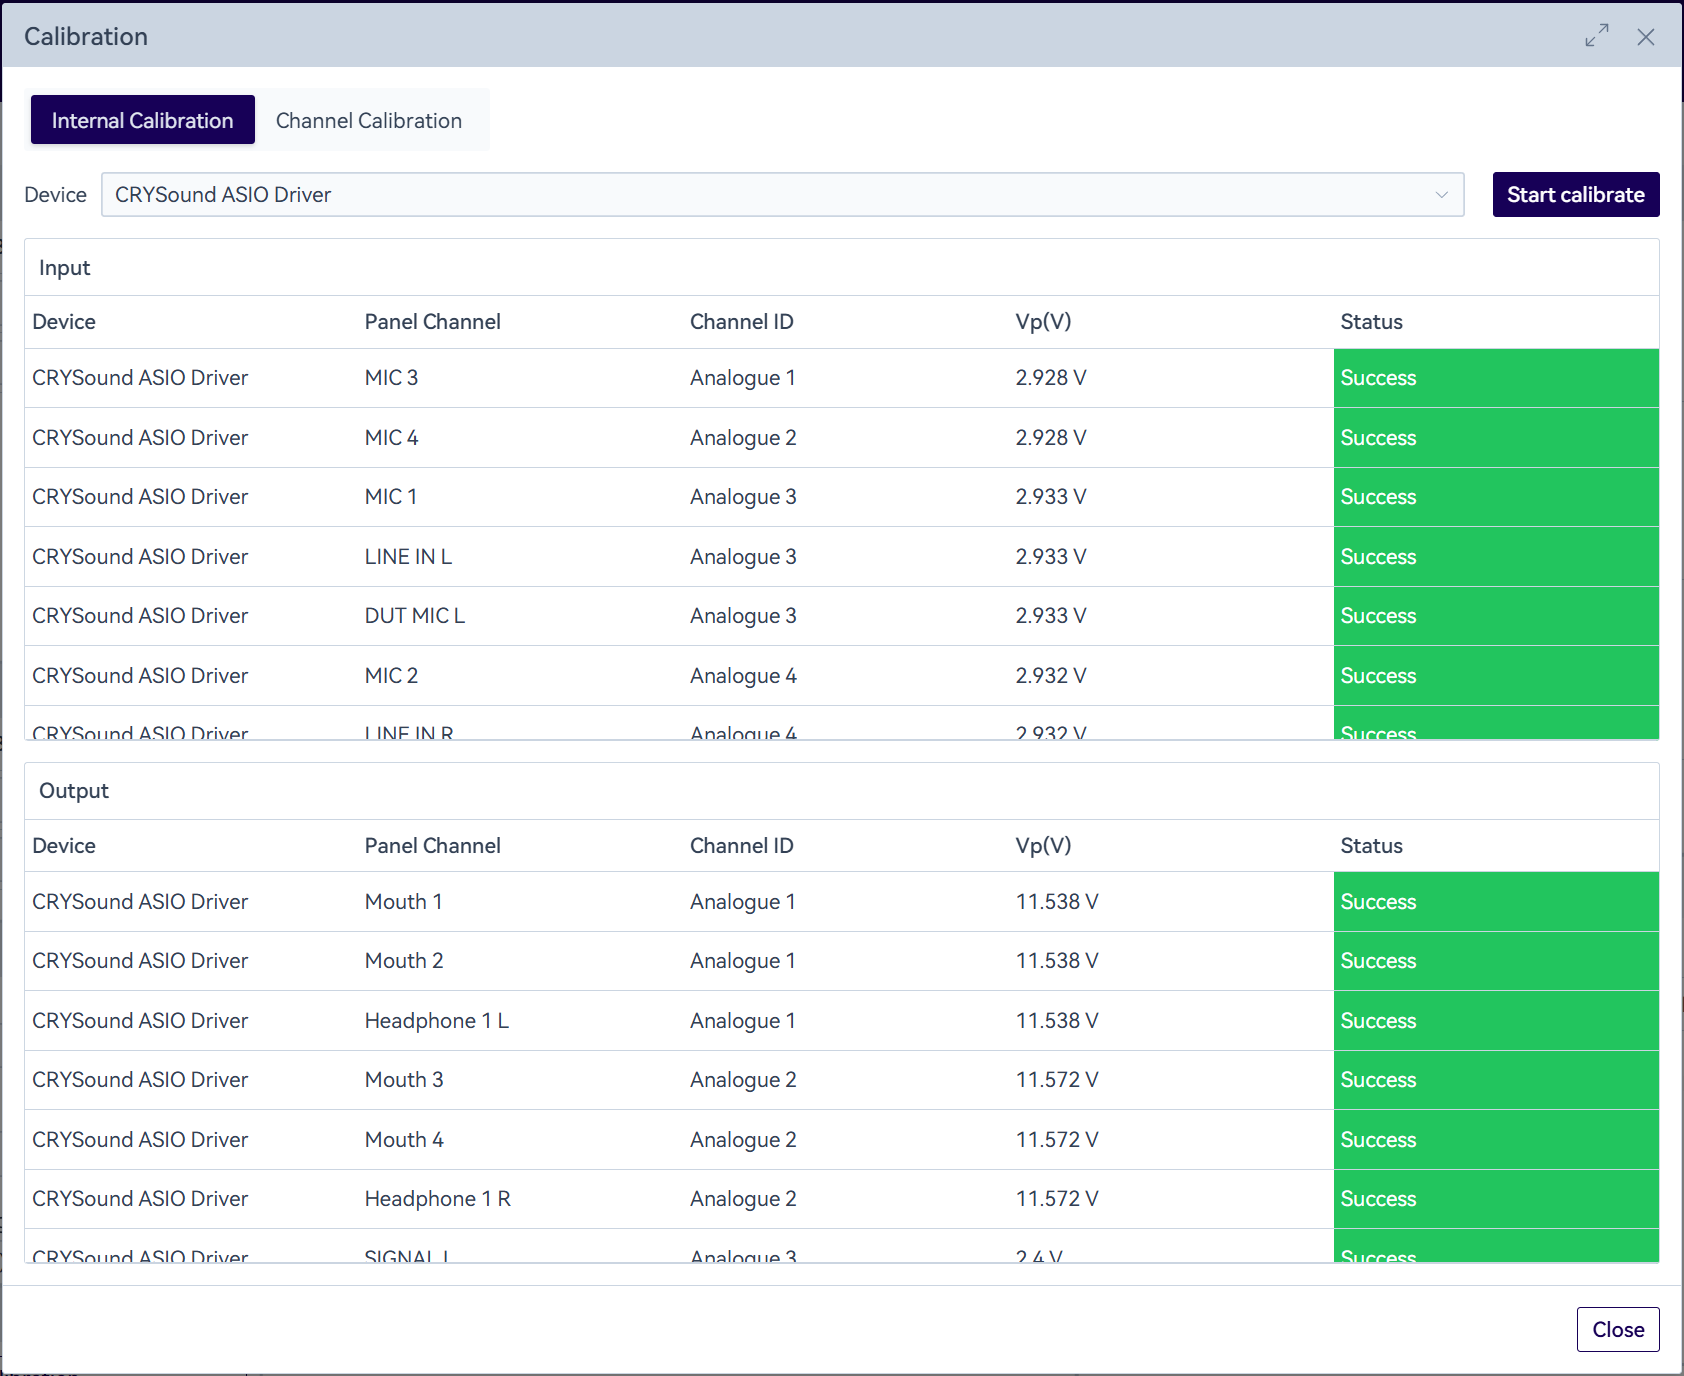
Switch to the “Internal Calibration” tab, select a CRY6151B device for electrical signal calibration, then click “Start Calibration”. The system will trigger the device to complete internal calibration automatically, and the calibrated Vp value will be updated in the channel list.
SonoDAQ devices have the Vp value written into the modules at the factory. Automatic calibration during use requires no software-side operation, and the OpenTest side no longer provides a feature to modify Vp.
Microphone Calibration/Vibration Transducer Calibration
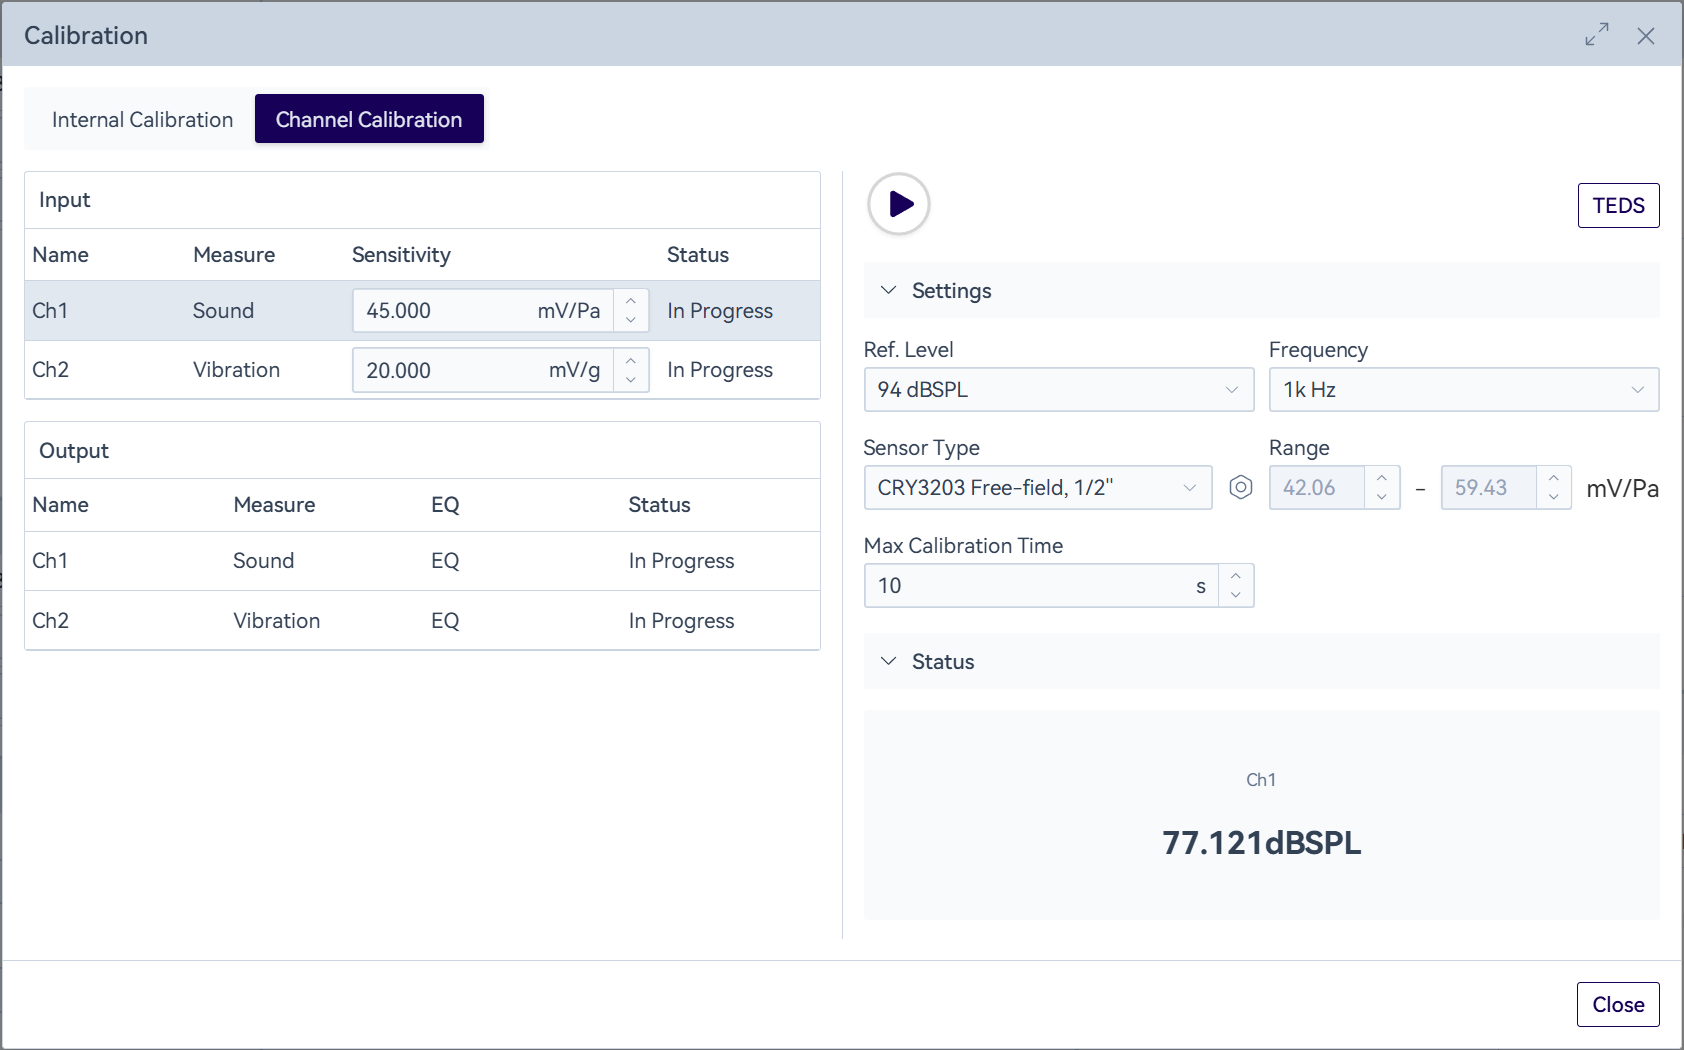
In the channel calibration dialog, select the input channels to be calibrated one by one. Before calibration, make sure the sensor on the channel being calibrated is correctly connected to the matching calibrator. Select the calibration signal, then click the “![]() ” icon to start calibration. Calibration will stop automatically once the target amplitude is reached, or you can click the “
” icon to start calibration. Calibration will stop automatically once the target amplitude is reached, or you can click the “![]() ” icon to stop it manually. If the sensitivity value does not reach the desired level, you can also adjust it manually.
” icon to stop it manually. If the sensitivity value does not reach the desired level, you can also adjust it manually.
If the sensitivity value of a SonoDAQ device differs significantly from the expected value after calibration, please check whether IEPE is enabled.
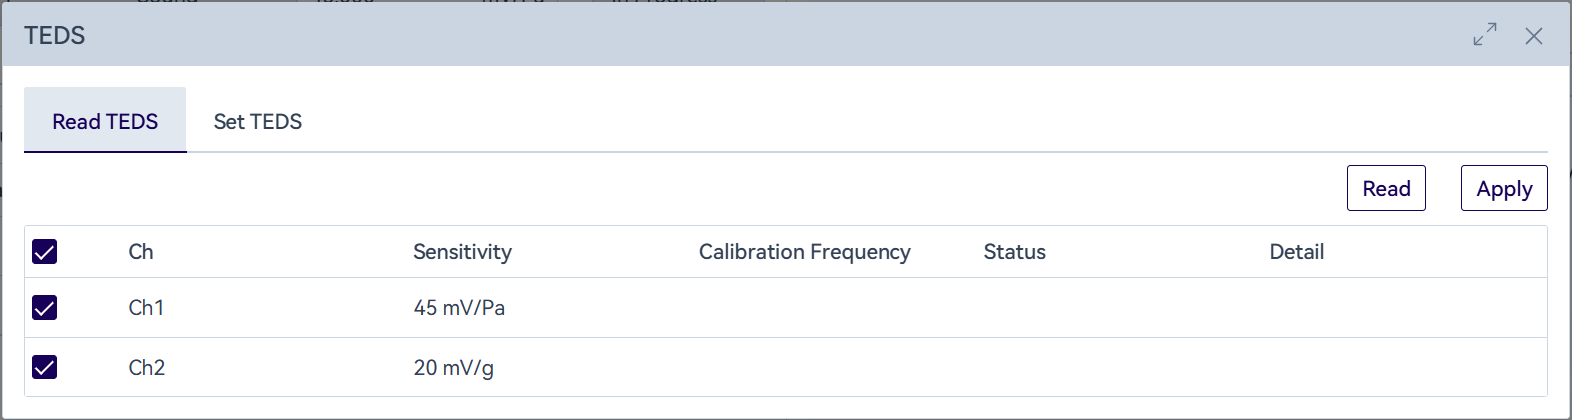
Supports reading sensitivity via TEDS.
Artificial Mouth Calibration/Shaker Calibration
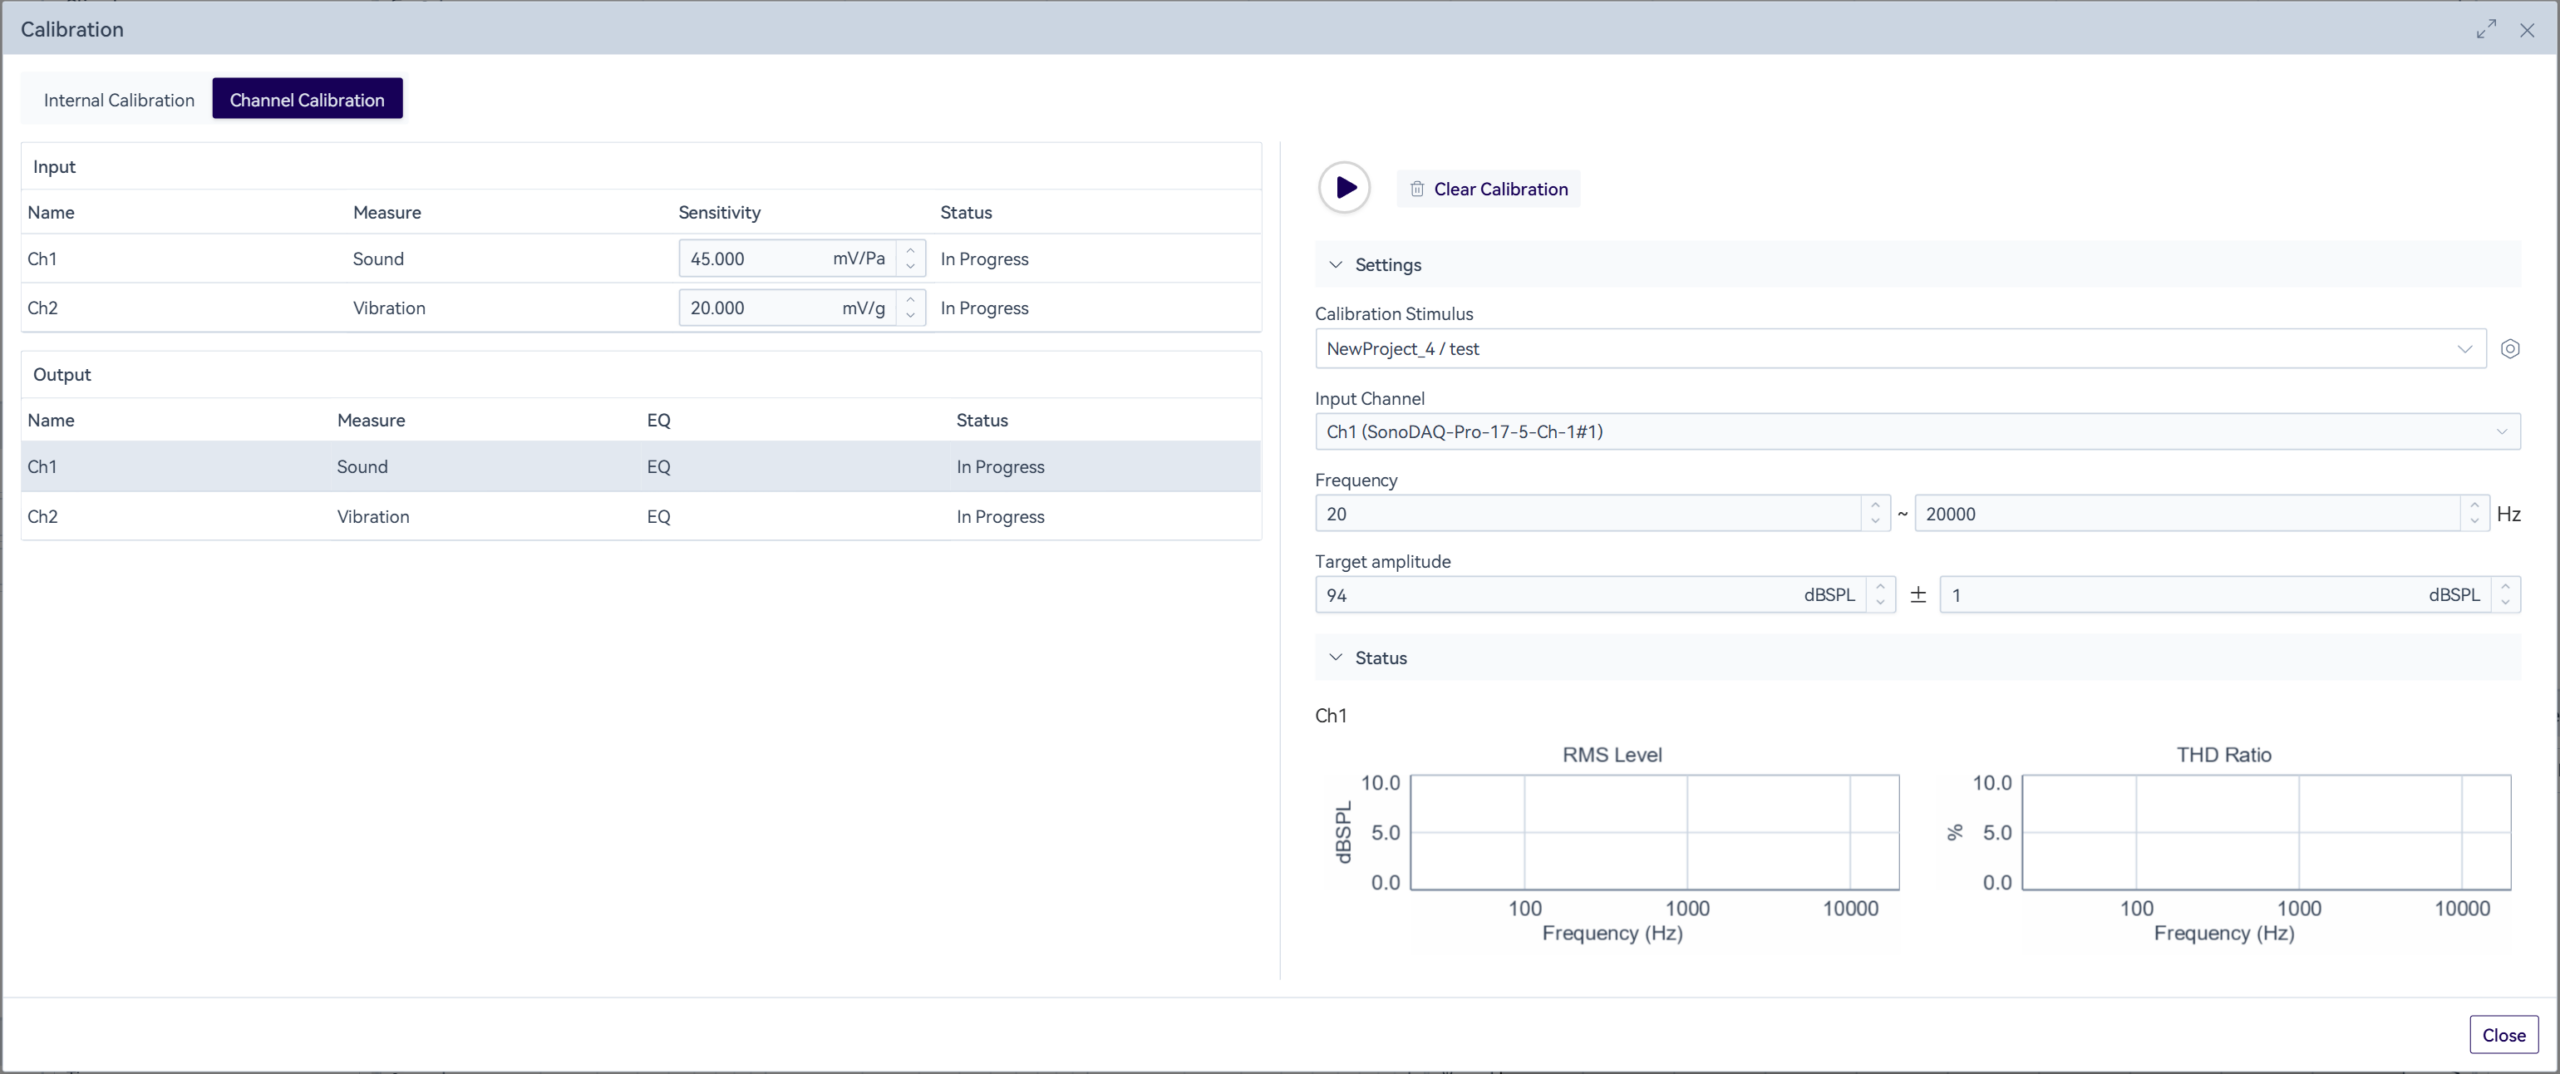
In the channel calibration dialog, select the output channels to be calibrated one by one. Before calibration, it is necessary to ensure that the artificial mouth/vibration table and the standard microphone/vibration sensor are correctly connected, and select the excitation signal to be used in the measurement process. Click the “![]() ” icon, and the system will conduct calibration according to the set target amplitude. During the calibration process, the frequency response curve and the total harmonic distortion ratio can be viewed. If the calibration fails to meet the standard for a long time, it is recommended to click the “Clear Calibration” button to clear the EQ curve and re-calibrate.
” icon, and the system will conduct calibration according to the set target amplitude. During the calibration process, the frequency response curve and the total harmonic distortion ratio can be viewed. If the calibration fails to meet the standard for a long time, it is recommended to click the “Clear Calibration” button to clear the EQ curve and re-calibrate.